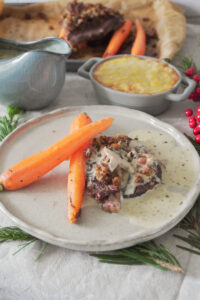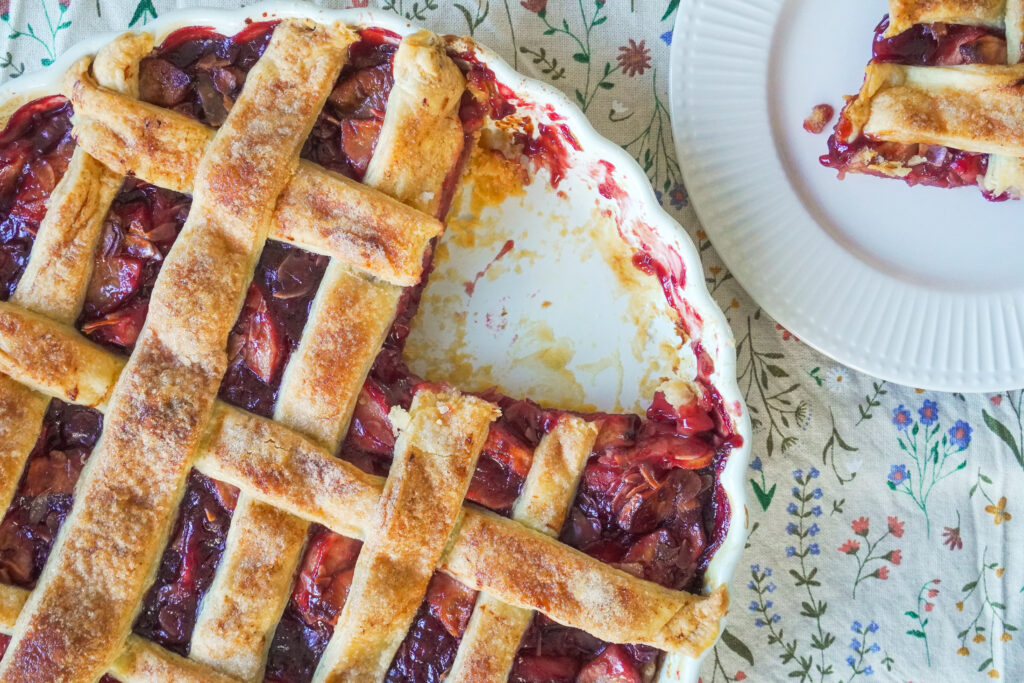
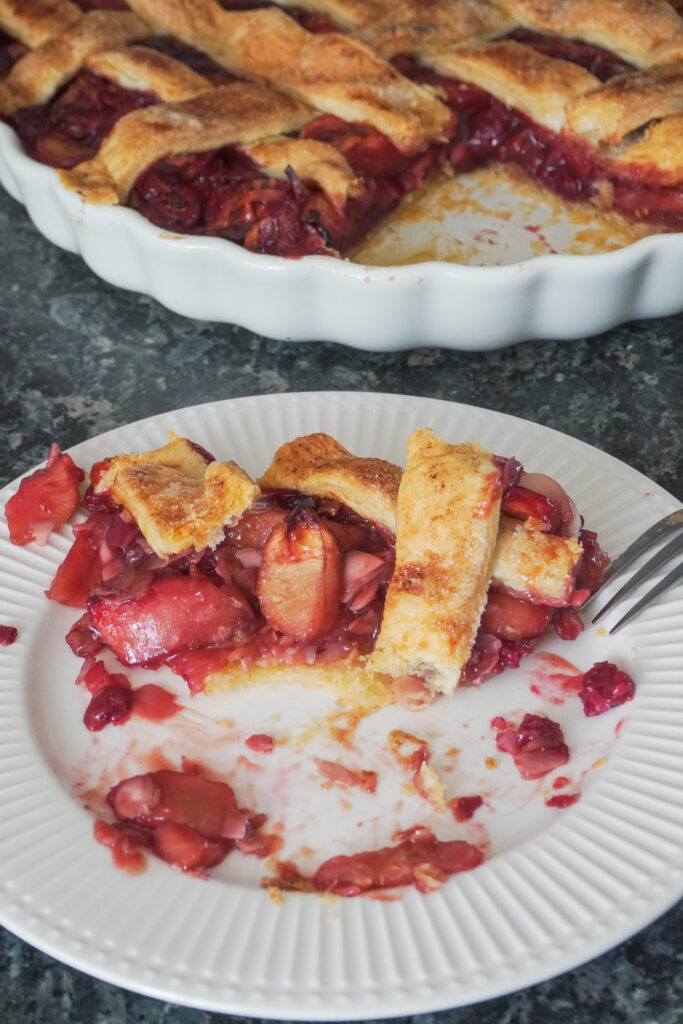
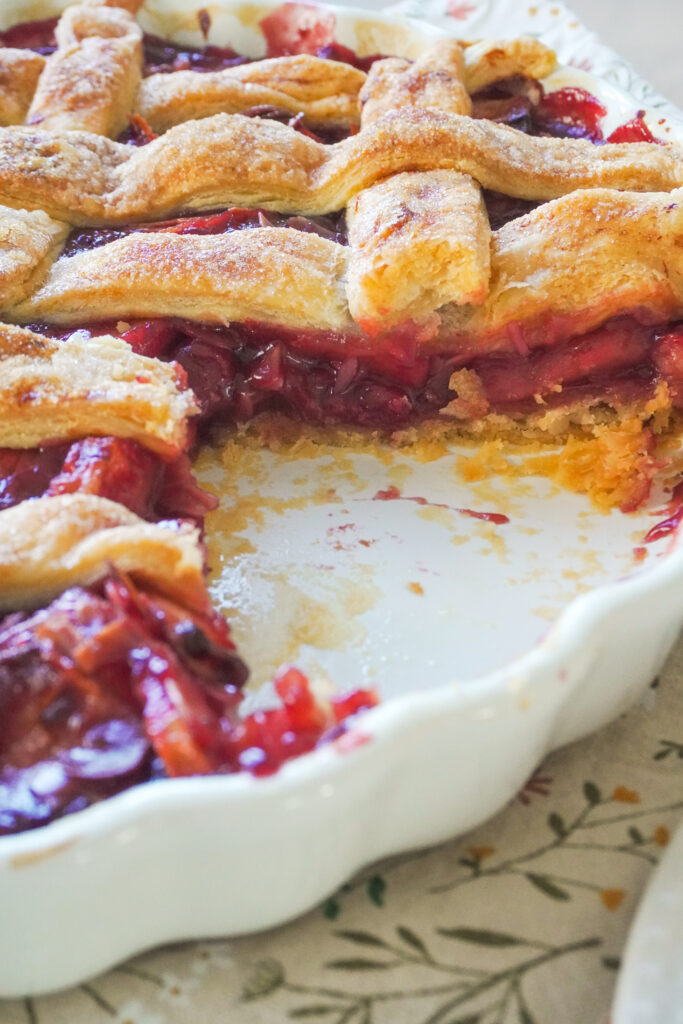
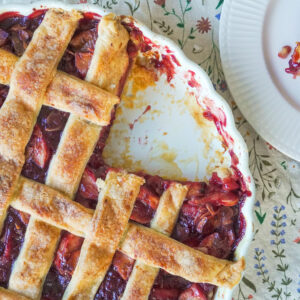
Apple Cherry Almond Pie
Cherries and apples are quite the unexpected yet perfect duo. A buttery, flaky crust with a tangy sweet cherry filling paired with sweet crisp apples and almond slivers. This recipe is so incredibly delicious and pairs wonderfully with a cup of coffee or tea in the blossoming spring weather!
Ingredients
Pie Crust
- 450 g All Purpose Flour
- 340 g Unsalted Butter cubed
- 1 tsp Salt
- 2 tsp Fine White Sugar castor sugar
- 200 ml Ice Cold Water without ice (refrigerated)
Pie Filling
- 5 Red Apples peeled, cored and thinly sliced
- 1⁄4 Lemon juice only
- 1 1⁄2 tsp Ground Cinnamon
- 60 g Fine White Sugar castor sugar
- 50 g Dark Brown Sugar
- 430 g Cherry Filling canned
- 75 g Almond flakes/slivers
- 30-50 g Unsalted Butter melted (for brushing)
- As needed Fine White Sugar for topping
Instructions
- Measure the water needed and refrigerate it overnight. Cut the cold butter into small cubes and refrigerate.
- Peel the apples, core them, and cut them into slices. Soak the slices in water with 2 teaspoons of salt for 5 minutes, then rinse thoroughly to remove the salt as this helps prevent the apples from browning. Refrigerate the apple slices for later use.
- In a large bowl, whisk together the flour, salt, and sugar. Add the cold butter cubes to the flour. Using your fingertips, work the butter into the flour by flattening it until the mixture resembles coarse crumbs, with some small pieces of butter remaining. This technique, by the Pie Queen herself a.k.a Erin McDowell, helps create that tender, buttery, flaky crust we all love. It may be tedious, but it's absolutely crucial.
- Gently bring the dough together on a clean surface (do not knead). Divide into two discs: one slightly larger for the base, the other for the top. Flatten and wrap each in plastic or parchment, then refrigerate for at least 1 hour. After chilling, remove the base dough and roll it into a 1 cm thick sheet (the shape doesn't matter). Fold it in half, then fold again. Tuck in the ends to form a ball, and shape it well using your hands. Wrap it again and refrigerate. Repeat the same with the top dough and chill both for another hour.
- Grease a 32 cm pie dish thoroughly with butter, making sure to get into all corners and sides. Add flour and shake it around to coat the entire interior, including ridges and sides. Set aside.
- Sprinkle flour on your working surface and rolling pin. Roll the base dough into a round shape about 0.3–0.4 cm thick. Place the rolling pin at the bottom edge of the dough, roll it up, then unroll it gently over the pie dish. Adjust the dough gently to fit, pressing into the corners. You can flute the edges if desired. Trim excess dough using a sharp knife, keeping close to the dish edge for a clean cut.
- Preheat the oven to 200°C. Place parchment paper on the dough and fill with pie weights or dried beans. Bake for 10 minutes. Remove the pie from the oven, carefully lift out the parchment and weights. Use a fork to dock the bottom of the crust (poke holes) to prevent puffing and ensure even bake. Return to the oven and bake for another 10 minutes, until lightly golden.
- Roll out the top dough as the base dough was rolled. Use a sharp knife or pizza cutter to trim the rough edges, then cut into 2 cm strips (if the strips are uneven-it's A-Okay!). Set aside.
- In a large mixing bowl, combine the apple slices, lemon juice, cinnamon, caster sugar, and dark brown sugar. Mix well until the apple pieces are fully coated. You’ll notice some liquid at the bottom, that’s normal and won’t make the pie soggy, so don’t worry (trust me!). Add the cherry pie filling and almond slivers. Gently fold until evenly combined. Pour the prepared filling into the parbaked crust and spread it evenly. In a pan over medium-low heat, melt some butter. Turn off the heat once melted.
- Start by laying one strip vertically at the center of the pie. Brush its center with melted butter. Lay a strip horizontally across it to form a cross, brushing the center again. On either side of the horizontal strip, brush the center areas and lay vertical strips. Now, working from the center-right, lift the horizontal strip halfway, place a vertical strip underneath, brush with butter, and lay the horizontal strip back down. Continue weaving vertically on the right, then repeat the same for the left. Weave the horizontal strips from center to bottom, then center to top, using the same technique. Don’t stress about imperfections, a little rustic charm makes it beautiful. Brush the whole lattice with melted butter and dust with sugar.
- Bake for 30–35 minutes at 200°C, or until the crust is golden brown and the filling is bubbling.
- Remove from the oven and let it rest for 15 minutes as this allows the filling to thicken and hold together when sliced. Cut into desired portions and serve warm (see Notes for serving suggestions and storage). Enjoy!
Notes
Substitutions: If you’re allergic to nuts, go ahead and omit the almonds altogether — because ain’t no allergic-to-nuts peeps gonna miss out on this one!
Pairing/Sides Suggestions: You could enjoy this as is, but adding a scoop (or several scoops, just ’cause) of vanilla ice cream or whipped cream is definitely a must-try!
Storage: Cover any leftover pie (if there’s any 😛) with plastic wrap or aluminum foil and store it in the fridge. When you're ready to enjoy it again, you can reheat it using either a conventional oven or an air fryer:
- Oven method: Preheat your oven to 170°C. Once preheated, place the pie inside and let it "bake" or heat up for 25 minutes.
- Air fryer method (best & fastest!): This method is quicker but works best in small batches. Slice the amount of pie you want to reheat. Line your air fryer basket with parchment paper or an air fryer basket liner, then place the slices inside — either one by one or all together, depending on the size of your air fryer. (Preheat the air fryer if needed.) Air fry at 180°C for 6–8 minutes.